TL;DR
The article explains how to create an efficient and fast autocomplete feature using jQuery, PHP, and MySQL. It starts by describing the basic HTML structure of the autocomplete feature and moves on to explain how to create a PHP script that connects to a MySQL database and returns the relevant data. It then describes how to use jQuery to create a dynamic dropdown that shows the suggestions based on user input. Finally, it explains how to integrate the autocomplete feature into a form and submit the selected value. The article provides step-by-step instructions, sample code, and screenshots to help readers understand the process.
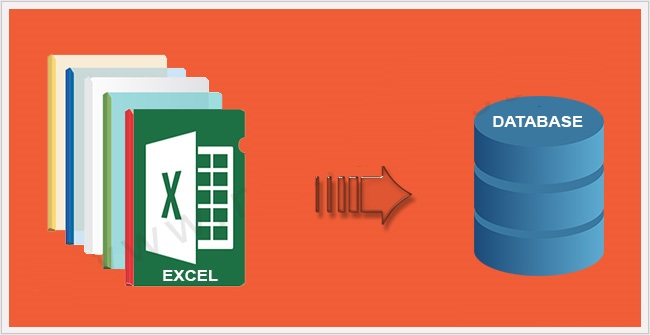
Importing and exporting data from/to an excel file is quite a common requirement for many web applications, and to import from or export data into an excel 2007 file using PHPExcel might be heavy on memory resources, PHPExcel performs the job beautifully most of the times. In one of my previous posts: Import Data Into MySQL From Excel File Using PHPExcel, I’ve discussed how to import data in your MySQL database by reading an excel file. In that post too I used the MySQLi class provided by Opencart and so I’m going to use the same one in this demonstration too.
In the import data post, we imported data into our ‘workforce’ database and ’employees’ table, so now we are going to read our data from that very same table and create an excel 2007 (.xlsx) file using it. You can download the database from the link at the bottom; it’s bundled along with the rest of the package (PHPExcel_export), in a workforce.sql file. If you want to just download the PHPExcel library, you can download it from:
https://github.com/PHPOffice/PHPExcel/tree/develop
In the package you’ll notice that we have our classes and export.php file in the root directory. Obviously, we’ll have our code to export in the export.php file and we’ll include the required libraries from the classes directory. So, in the export.php file our include code and db query will look like:
If you’ll print_r the $dataArr you’ll get an array like:
Now, we have to format the array in a more compatible way with PHPExcel. We’ll call this array $excelDataArr. But you may ask what is a ‘compatible’ array? You see, to add data in a cell using the PHPExcel object, we can use the setCellValue() method as following:
As you can see, the setCellValue() method takes 2 parameters: 1st is the cell index like ‘A1’ or ‘B1’… and so on and the second one is the ‘value’ that we want the cell to have. Now this is quite difficult to iterate and feels impractical. Fortunately, there’s another method we can use, the setCellValueByColumnAndRow($column, $row, $value) method. This method takes 3 parameters: 1st is the column number starting from ‘0’ (zero), the 2nd one is the row number starting from ‘1’ and third one is the value we want our cell to have. So, for example let’s say we want our cell ‘A1’ to have the value ‘Hello’, the cell ‘B1’ to have the value ‘world!’ and the cell ‘C1’ to have the value ‘:)’, we’ll use the method as:
As you can see, this can be iterated quite easily. The compatible array which we talked earlier about will be an array whose keys we could use to index/designate a cell. We can do that in a foreach loop as:
if you’ll print_r the $excelDataArr array, you’ll get something like:
Notice how the keys are different from the previously printed array. The keys of the first dimension array gives us the row number and the keys of the second dimension array gives us the column number. So now we’ll create our PHPExcel object, assign some properties to our excel sheet, iterate through the $excelDataArr array and assign value to the cells, and finally we’ll save the excel file in a given location.
Let’s first create the PHPExcel object, set the document properties and assign values to the cells:
Since we are also using a header row, we need to stylize it to look a bit different than the rest of the document. We can do this by making the header cells value bold and having a border. With PHPExcel this is also very easy. We can do it as:
The cells ‘A1’ to ‘F1’ are our header cells. You can read more about formatting cells on the documentation page of PHPExcel at: https://github.com/PHPOffice/PHPExcel/blob/develop/Documentation/markdown/Overview/08-Recipes.md
Now, we’ll set the output as ‘Excel2007’ using the createWriter() method and save the file in a given location as ‘MyExcelSheet.xlsx’. Every time you’ll run the script this file will get replaced. If you don’t want to do that then you can probably concatenate the name using PHP uniqid() function as ‘MyExcelSheet’.uniqid().’.xlsx’ .
This is it. You file is created and now you can give the download link to anyone you want. You can download the whole demo package from here: PHPExcel_export.zip
If you are looking for a reliable team to manage your web development, consider checking out our web development services and pricing page. So in case any of you guys reading this has anything worthwhile to contribute or point out, please share in the comments section below and contact us today!

We are a Website Development, WebApp Development, and Digital Marketing Company, providing services to enterprises of all shapes and sizes, across the world. In our blog, we talk about the latest in Tech, Technical Tutorials, and our general opinions, among other things 🙂 Please feel free to reach us through the comment box or via the contact us page if you’d like to know more about our services.

